社内向けのWebシステムをPHPで開発していますが、PHPのテンプレートエンジンはSmartyを使っています。
データを操作する部分はPHP、ブラウザに出力する部分はSmartyという感覚。
今回、Windows Server 2016にPHP7.4を設定したので、Smarty3.1のダウンロードと設定を記録します。
Windows Server 2016
PHP7.4
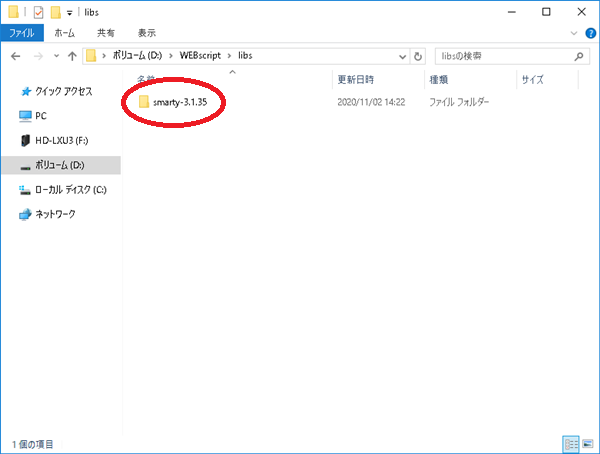
Smarty 3.1.35
IIS
ローカルネットワークです。
< スポンサーリンク >
Smartyのサイトのダウンロードページにアクセスします。
https://www.smarty.net/download
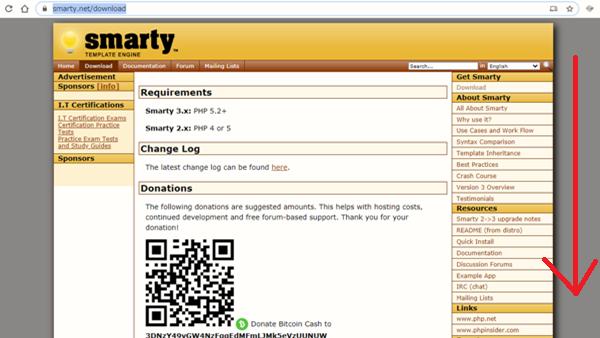
少し下にスクロールします。
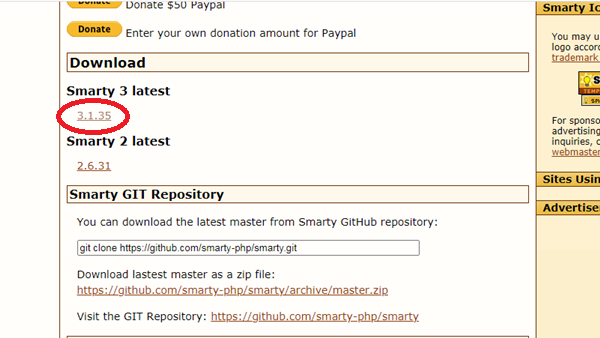
Smarty 3のバージョンの部分をクリックします。
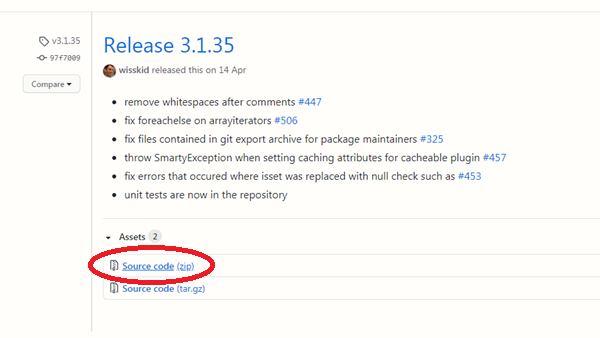
[Source code (zip)]をクリックします。
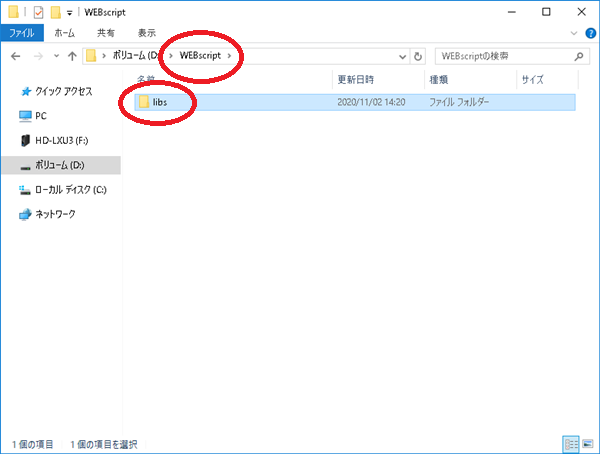
ダウンロードしたzipファイルを解凍して、Web サイトのドキュメントルートのフォルダの中に「libs」フォルダを作り、その中に保存します。
※私の場合ドキュメントルートは、「C:\inetpub\wwwroot\」ではなく「D:\Webscript\」にしています。
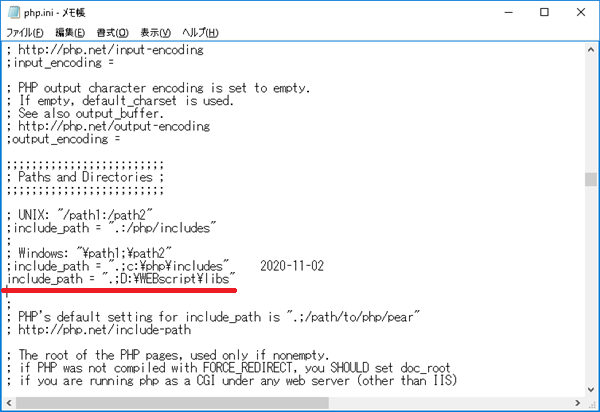
php.iniを開き「include_path」の部分のコメントを外し「D:\Webscript\libs」を書き込み上書き保存します。
include_path = “.;D:\Webscript\libs”
IISを再起動します。
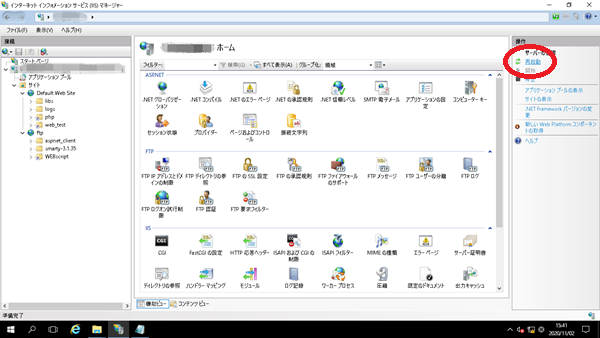
設定は終わりです。
Smartyの動作確認をしてみます。
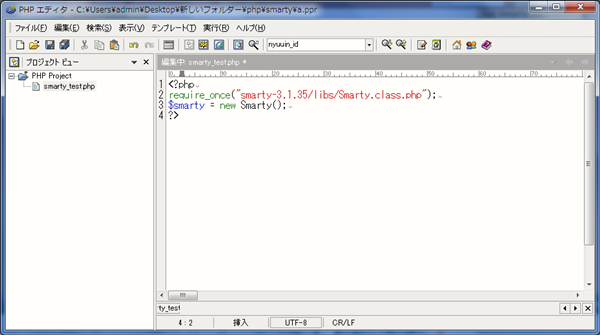
PHPファイルを作成し、下記のように書きます。
<?php
require_once(“smarty-3.1.35/libs/Smarty.class.php”);
$smarty = new Smarty();
?>
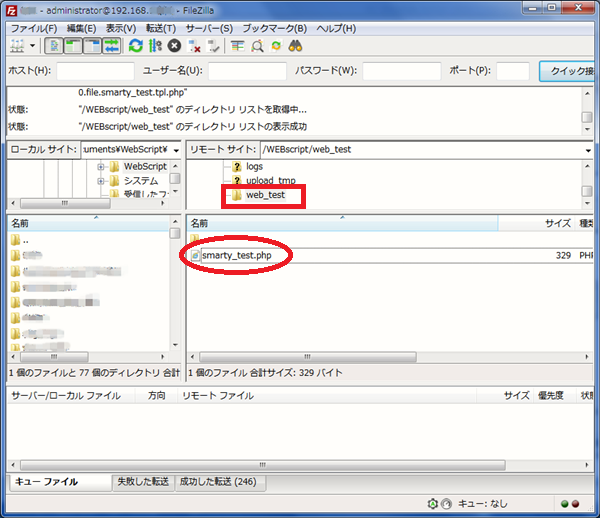
Webサーバーに今作成したPHPファイルをアップロードします。
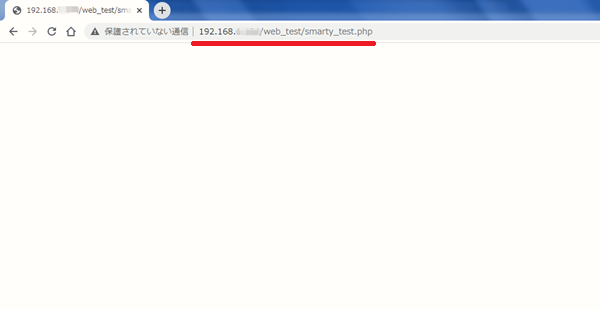
ブラウザでアップロードしたURLにアクセスしてみて、何も表示されなければSmartyが動作しています。
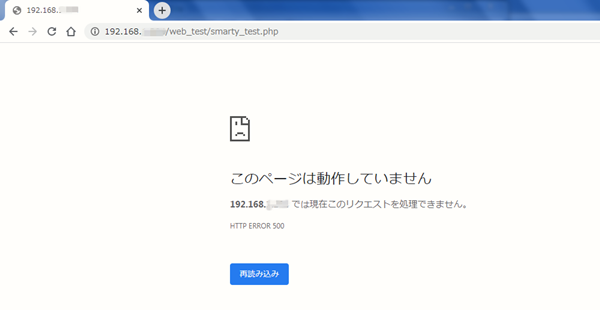
設定が上手くいってない場合はエラーメッセージになります。
文字を表示してみます。
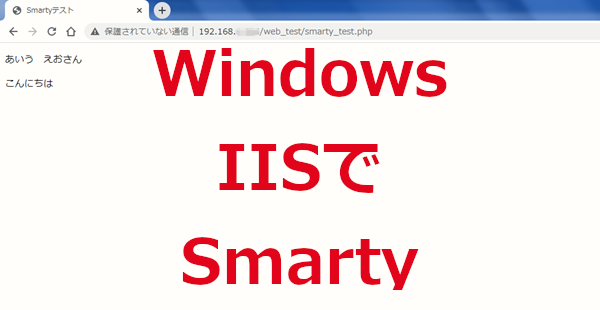
「name」という変数に「あいう えお」という文字を代入し、ブラウザで表示してみます。
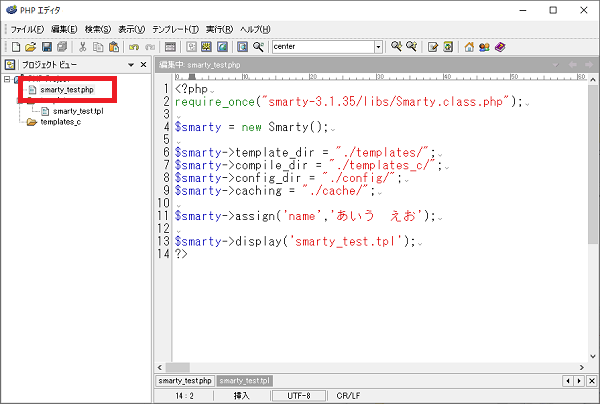
PHPファイル smarty_test.php
<?php
require_once(“smarty-3.1.35/libs/Smarty.class.php”);
$smarty = new Smarty();
$smarty->template_dir = “./templates/”;
$smarty->compile_dir = “./templates_c/”;
$smarty->config_dir = “./config/”;
$smarty->caching = “./cache/”;
$smarty->assign(‘name’,’あいう えお’);
$smarty->display(‘smarty_test.tpl’);
?>
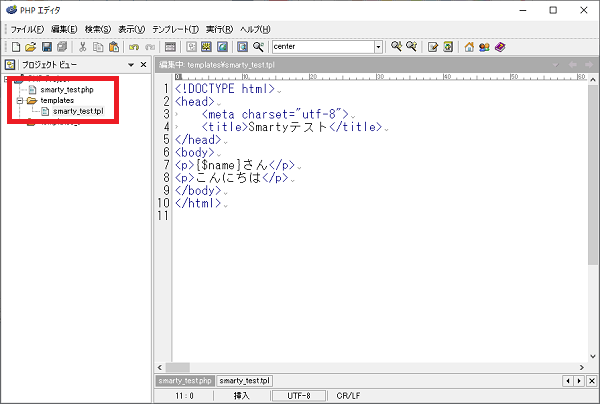
tplファイル smarty_test.tpl
PHPファイルと同じフォルダに「templates」に作りその中に保存します。
<!DOCTYPE html>
<head>
<meta charset=”utf-8″>
<title>Smartyテスト</title>
</head>
<body>
<p>{$name}さん</p>
<p>こんにちは</p>
</body>
</html>
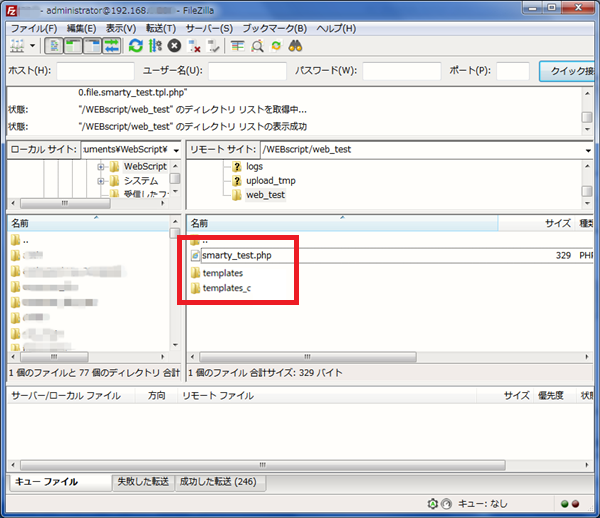
Webサーバーに今作成したPHPファイル、フォルダ、tplファイルをアップロードします。
同じフォルダ内に「templates_c」というフォルダを作っておきます。
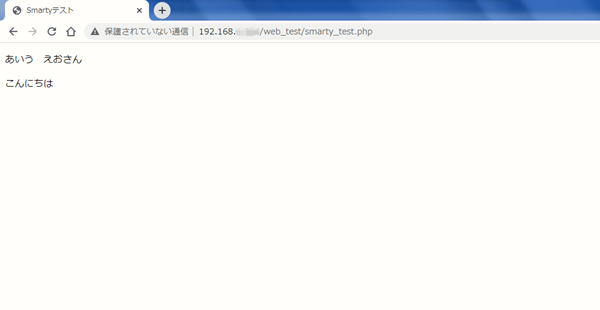
ブラウザでアップロードしたURLにアクセスすると表示されます。
< スポンサーリンク >※広告先のお問い合わせは広告主様にお願いします
こんな記事も書いています